VMwareのCD-ROM定義をSLED 10 SP1のインストールDVDイメージ(SLED-10-SP1-x86-DVD1.iso)指定にします。
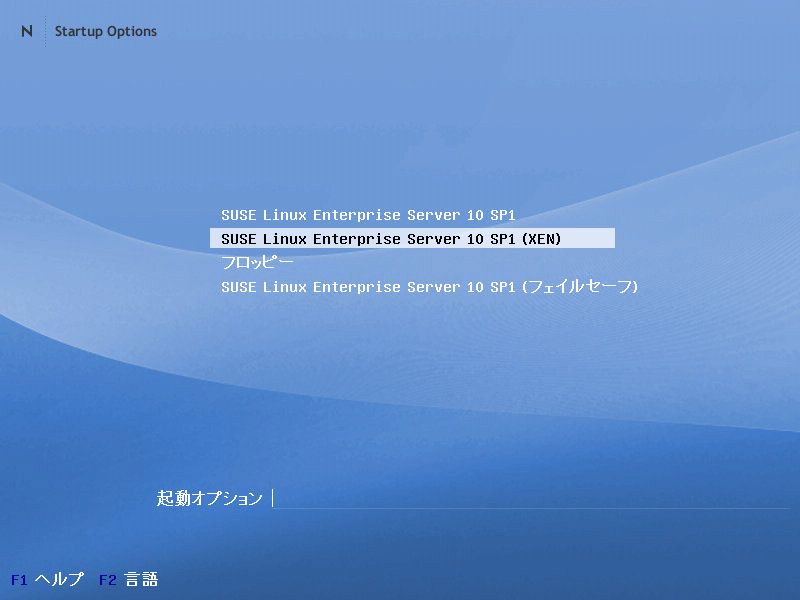
VMwareでSLES 10 SP1を起動する際、そのGRUBメニューでXENを選択します。
VMwareのSLES 10 SP1に割り当てたメモリ2048MBのうち1024MBをDomain0割り当てとするため以下のコマンドを実行します。
# xm mem-set 0 1024m
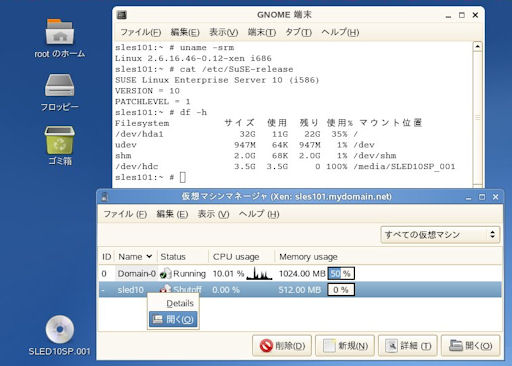
SLES 10 SP1の[コンピュータ]-[YaST]-[Virtualization]-[Virtual Machine Manager]で仮想マシンマネージャを起動します。
※[コンピュータ]-[YaST]-[Virtualization]-[仮想マシンの作成]でも仮想マシンマネージャを起動できます。
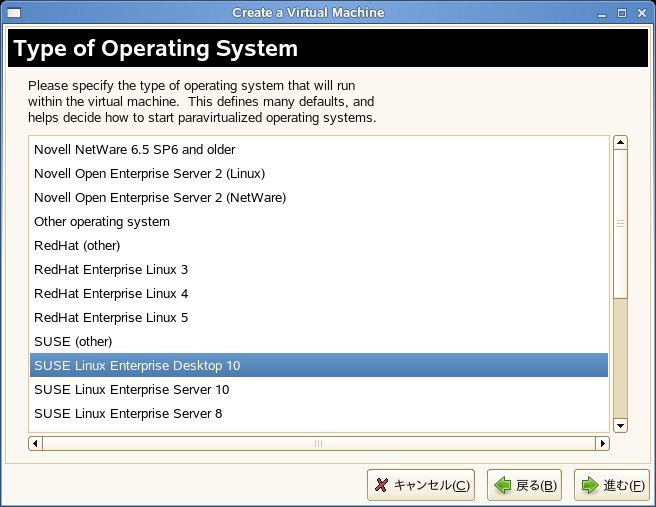
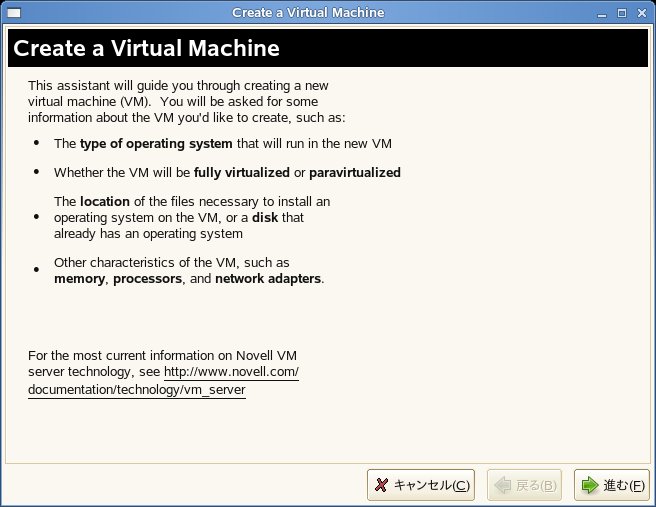
仮想マシンマネージャの<新規>ボタンを押して「Create a Virtual Machine」ウィザードを起動します。
<進む>ボタンで先に進みます。
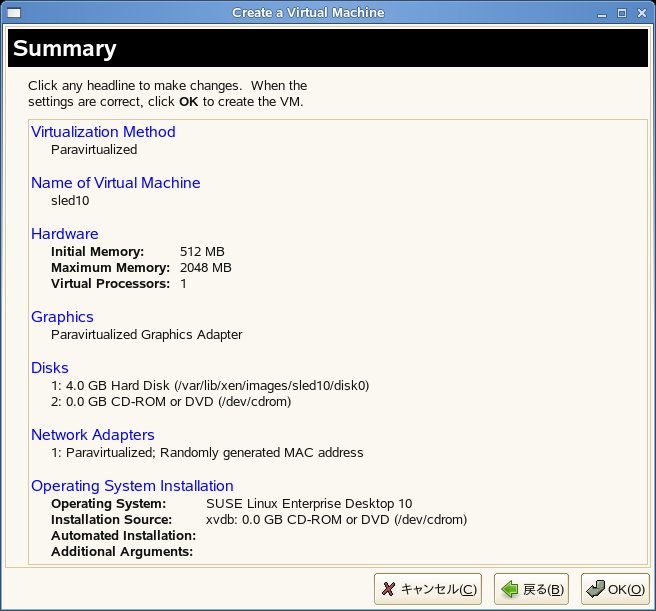
今回は以下の仮想システム定義としました。
(1)OS種別:SUSE Linux Enterprise Desktop 10の選択
(2)仮想化方法:Paravirtualized
(3)仮想マシン名:sled10(デフォルト値)
(4)仮想メモリ:512MB
(5)仮想ディスクファイル:/var/lib/xen/images/sled10/disk0 (4GB)
(6)インストールソース:/dev/cdrom
※ここでの/dev/cdromはSLED 10 SP1のインストールDVDイメージ(SLED-10-SP1-x86-DVD1.iso)を指します。
「Summary」画面で<OK>ボタンを押すと「Please wait installing...」と表示されます。
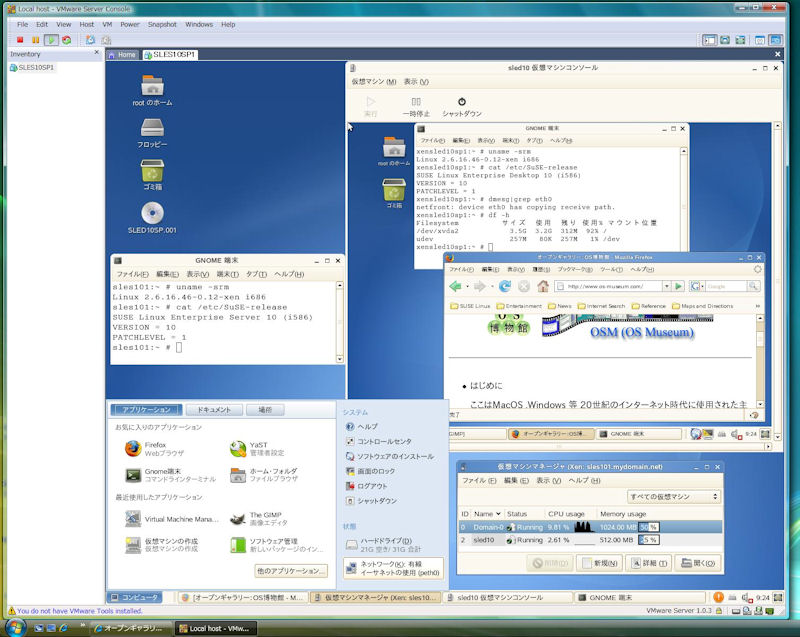
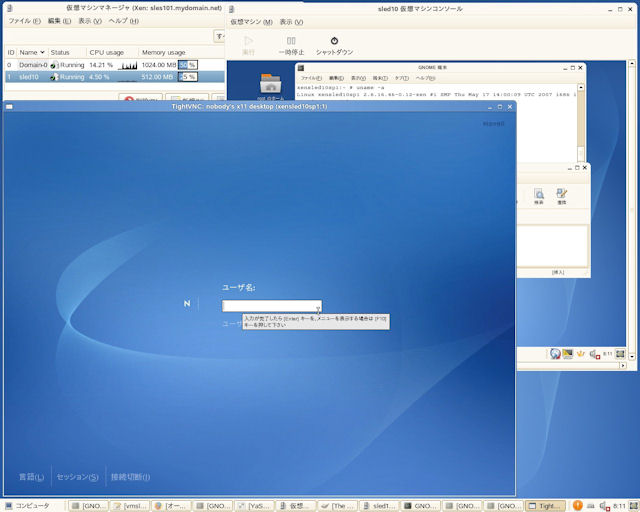
仮想マシンコンソールは実際のSLED 10 SP1インストールを操作するツールです。
仮想マシンコンソール(TightVNC:VNCビューア)での操作の流れは以下のようになります。
- Language
デフォルトはEnglish(US)です。
ここでは「日本語」を選択します。
- ライセンス同意
- インストールモード:新規インストール
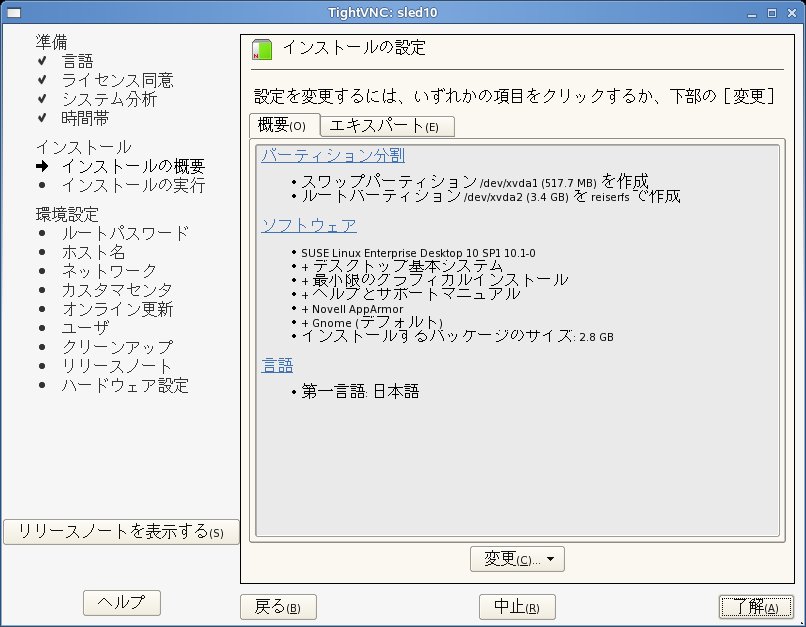
- インストールの設定
ここはデフォルトのままとします。
パーティションデバイスは以下の通りです。
・swap:/dev/xvda1
・root:/dev/xvda2
- rootユーザのパスワード指定
- パッケージのインストール
- ホスト名:xensled10sp1
- ネットワーク設定
ホストマシン(Windows Vistaのマシン)の物理ネットワークに接続できる設定をします。
尚、VNCリモート管理は[許可]設定に変更します。
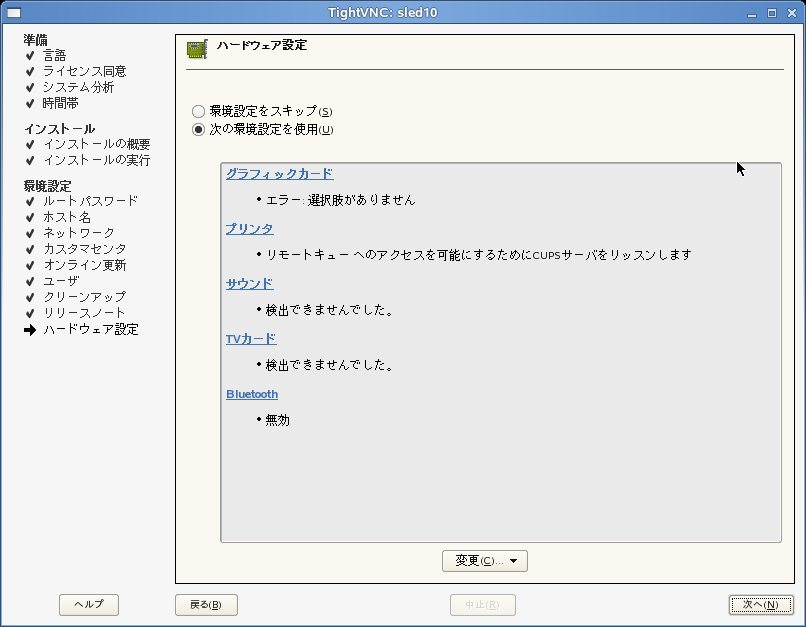
- ハードウェア設定
グラフィックカードについては「エラー:選択肢がありません」と表示されます。
グラフィックカードの指定変更はできないため「エラー:選択肢がありません」表示のままで構いません。
- インストール完了
インストールされたSLED 10 SP1パッケージ一覧はこちらです。
- GDM表示とログイン
インストール完了後にGDM画面が表示されます。
言語で「日本語」を選択してrootでログインします。
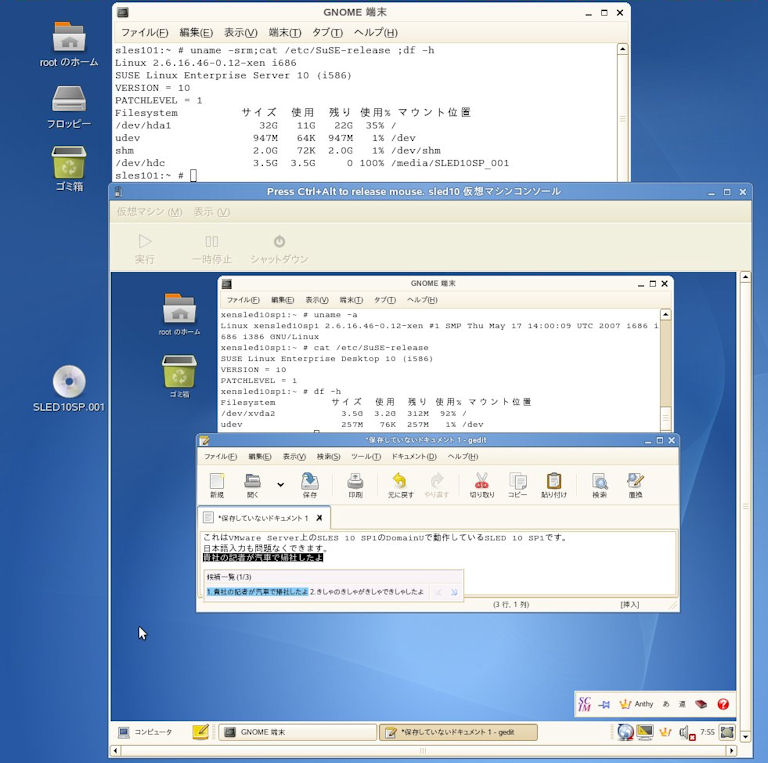
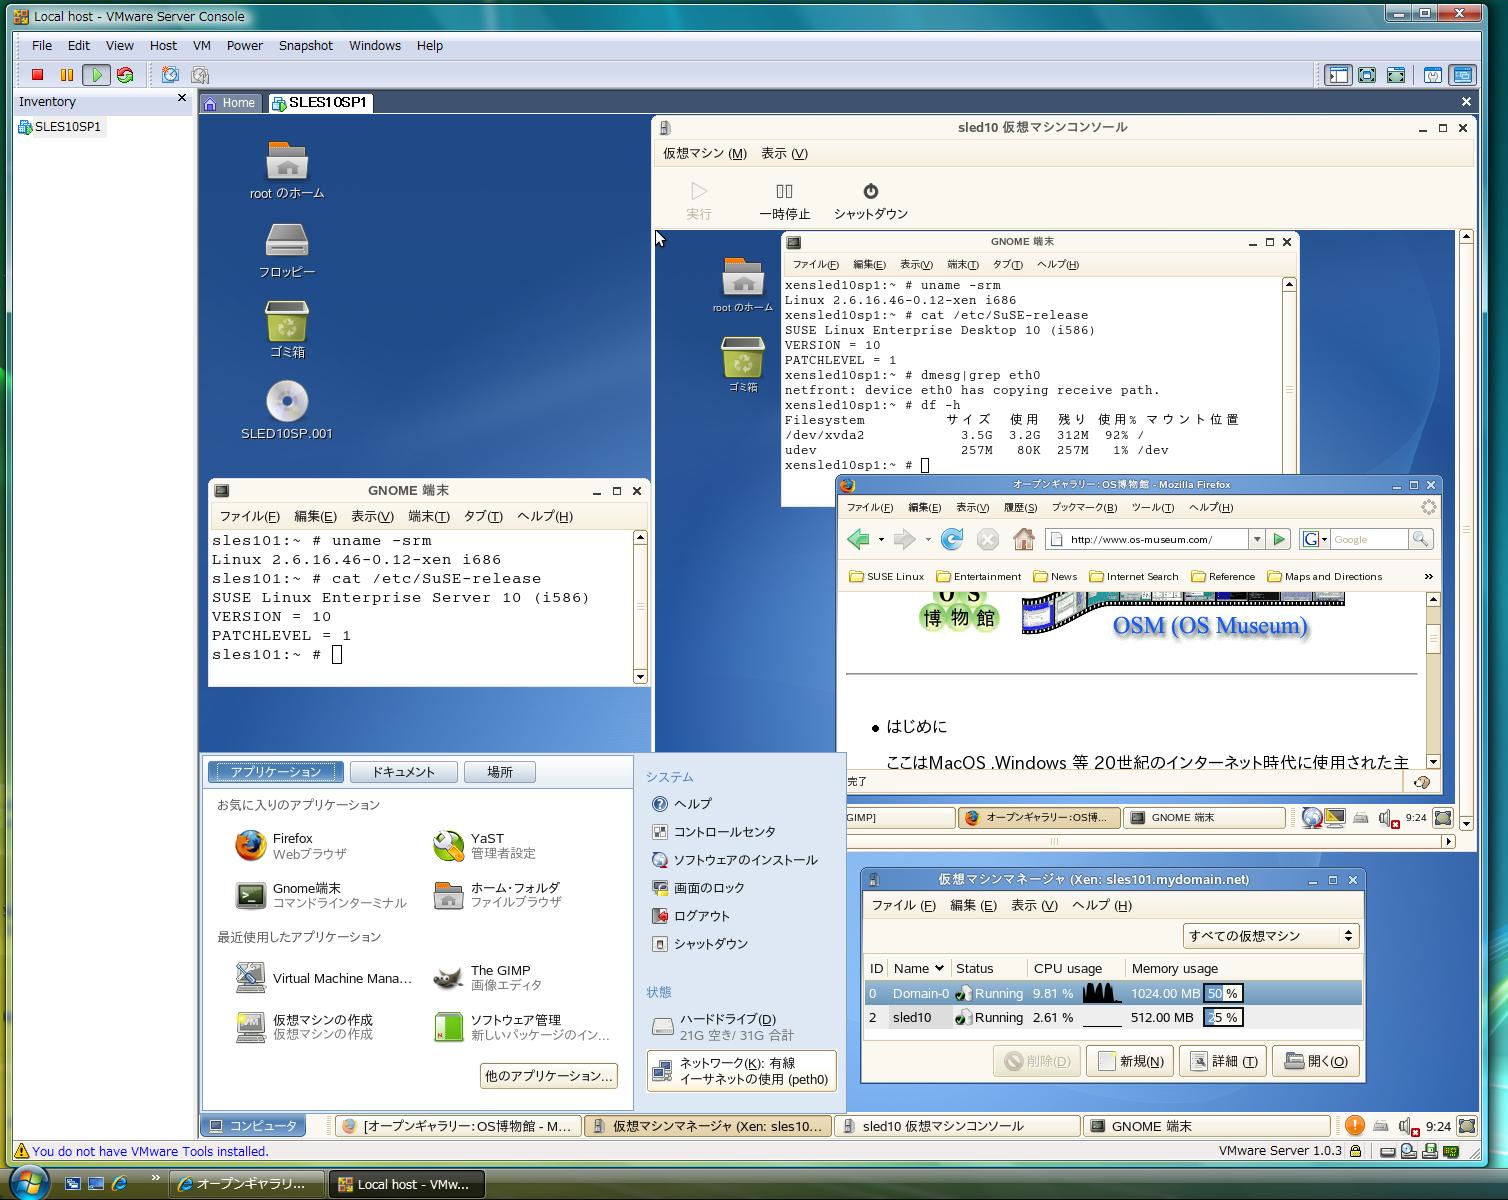
- デスクトップ操作
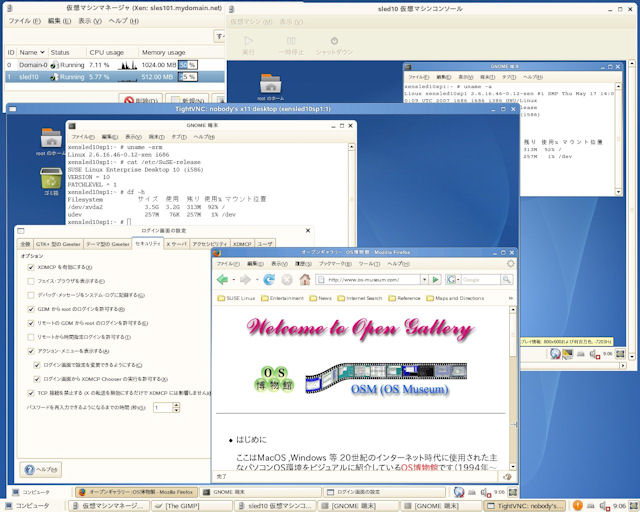
DomainUの解像度は小さい(800x600x16)ですが仮想マシンコンソールでのGUI操作が可能です。
日本語入力やネットワーク利用も行えます。
実寸画像はこちらです。
自動生成されたDomainU構成ファイル(/etc/xen/vm/sled10)は以下の内容になっています(kernel行はありません)。
ostype="sled10" name="sled10" memory=512 vcpus=1 uuid="b7933961-46a9-1525-e722-6ae8ae0ee861" on_crash="destroy" on_poweroff="destroy" on_reboot="restart" localtime=0 builder="linux" bootloader="/usr/lib/xen/boot/domUloader.py" bootargs="--entry=xvda2:/boot/vmlinuz-xen,/boot/initrd-xen" extra="TERM=xterm " disk=[ 'file:/var/lib/xen/images/sled10/disk0,xvda,w', 'phy:/dev/cdrom,xvdb,r', ] vif=[ 'mac=00:16:3e:50:60:ec', ] vfb=["type=vnc,vncunused=1"] |